DIY Steps to Hanging Art
/DIY-ers who want to hang artworks on their own at home can achieve professional results by following these steps. The less ambitious can save themselves the trouble by calling on AFAC for help. We can advise on art placement and bring professional installers.
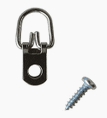
Framing note: When having works framed, ask your framer to install two D-rings on the piece. No wire necessary. Check to be sure the two D-rings are equal distance from the top of the piece.
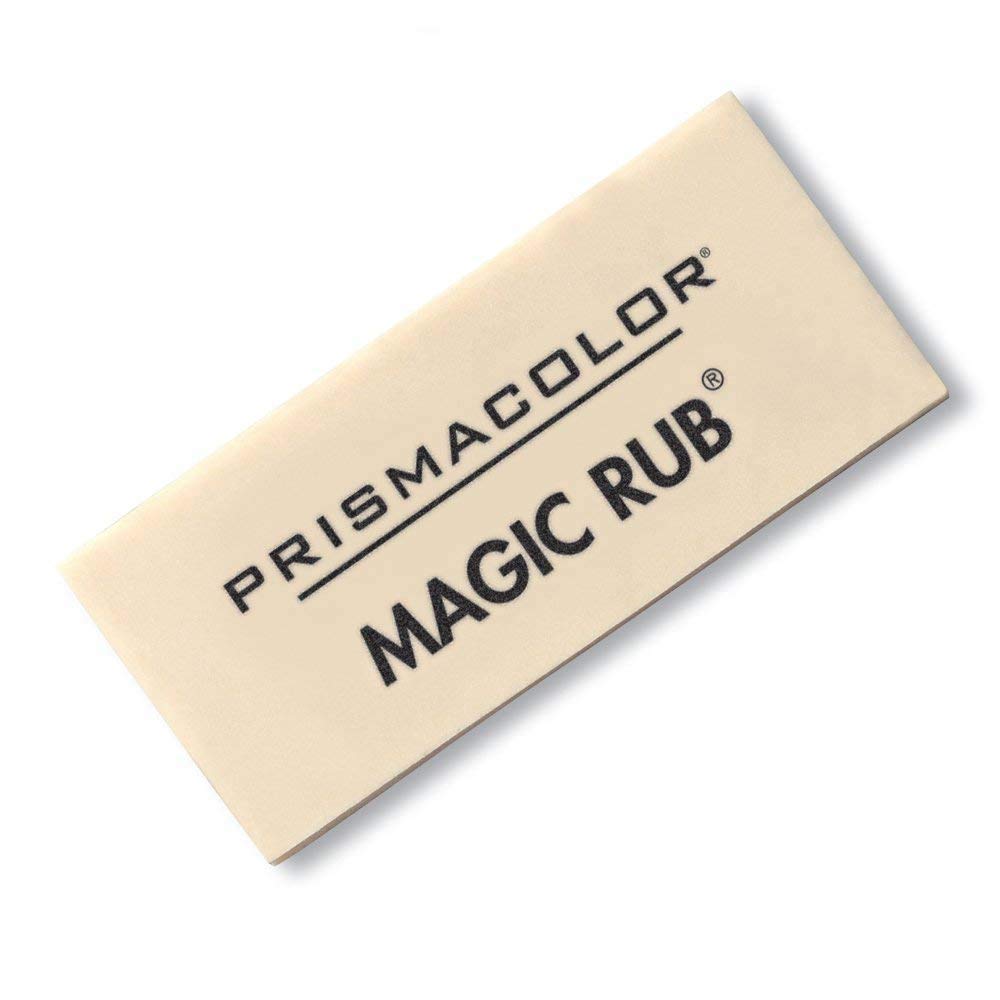
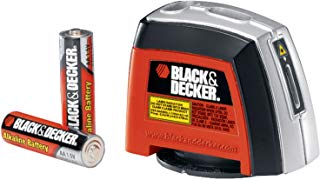
Tools: Pencil, tape measure, level (either a ruler with a level in it, or a laser level), art hanging hooks, hammer, Magic Rub eraser.

Step 1: Find the center point of the wall where you’d like to hang the piece, or if centering over furniture, the center point of the furniture. Mark this point with a pencil on the wall.
Step 2: Hold the piece in place at the desired height. No hard and fast rule here, but consider how the piece will be viewed—will the viewer be standing right next to it, looking at it from a distance, or mostly from a sitting position? Mark the bottom edge of the piece on the wall.
Step 3: On the back of the piece, measure the distance between the bottom edge and the top of one D-ring (where the hook will be). On the wall, measure up from the bottom edge mark this distance and mark it on the wall.
Step 4: Using a ruler with a level or a laser level. line up this mark with the center mark you made in step one. Move your mark as necessary to line up with the center mark vertically.
Step 5: On the piece, measure the distance between the two D-rings at the tops of the “D”s where the hooks will go, and divide by two. This is the distance you will measure on each side of your new center mark. Mark each distance on the wall. Using the level, adjust these marks as necessary so that the two hook marks line up with the center mark horizontally.
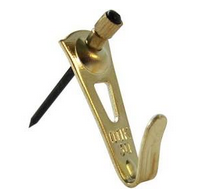
Step 6: Using special art-hanging hooks (see image above), hammer the hooks into place so that the bottom edges of the hooks line up with your marks. Be sure to use a hook in the appropriate size for the weight of the piece. They come in one, two and three-nail sizes.
Step 7: Erase your pencil marks with a Magic Rub eraser. Do not use the eraser on the end of a pencil. Hang your piece and check to be sure it is level.
Because the piece is now hanging from two points, it will never need straightening.